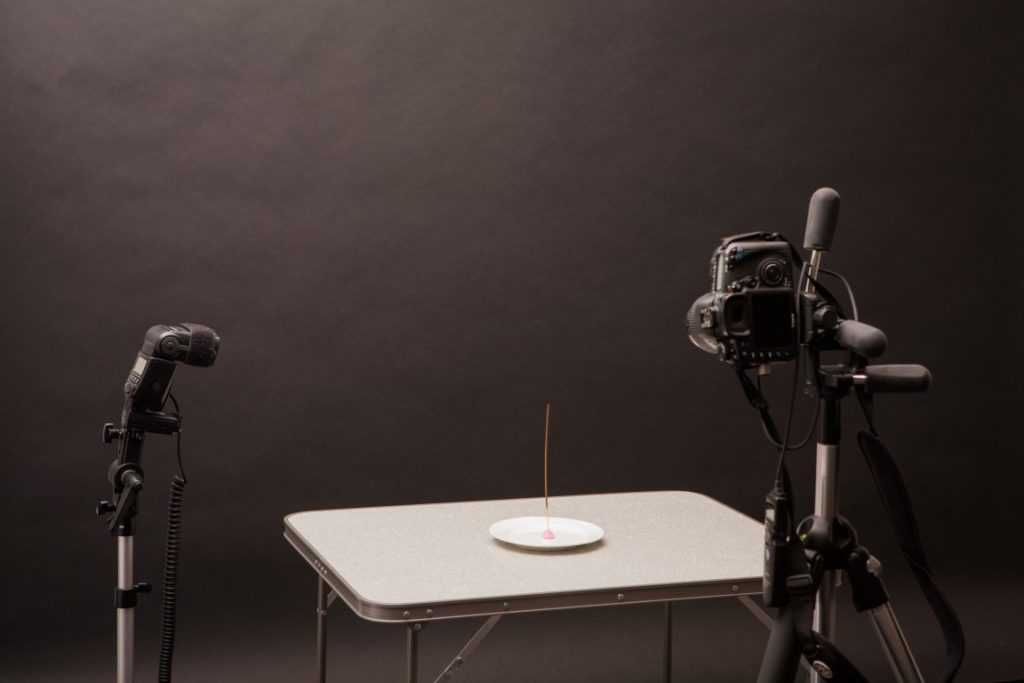
A couple of important considerations.
- Do not position the flash too close to the smoke. Moving it further away will result in a more even spread of light on the smoke (Light fall-off again!) and will avoid over-exposing 1 side of the smoke cloud. (Obviously, you could opt to use a second light from the other side of the table to achieve the same thing)
- Smoke is 3 dimensional – opt for an aperture that will give you an adequate depth of field. (Remember that the smaller the aperture, the higher the flash power needed to create a proper exposure)
- Shoot in a room that is as free as possible from ambient light.
- Shoot at sync speed to cut out as much ambient light as possible.
- Lens choice: This is completely up to you. A zoom lens will capture finer detail and patterns within the smoke (Which can be quite amazing), whilst a wide angle lens will allow capture of a bigger portion of the cloud, which will be more suited to using in composites.
- Use a cable release if you have one.
- Waving your hand above the smoke will disrupt the pattern of the cloud and allow for the creation of different images.
- BE PATIENT: You will more than likely end up deleting most of what you shoot. Though skill and understanding are required to capture good images, a brilliant image is more likely to be the product of a happy accident.
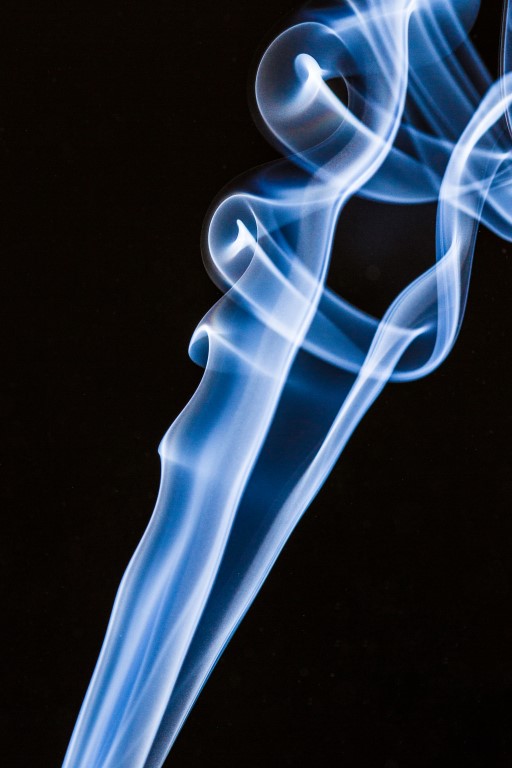
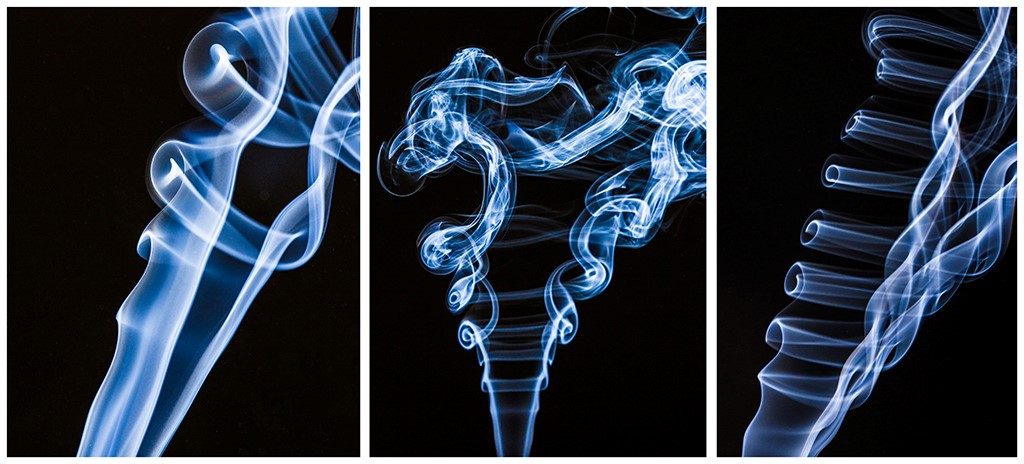
Smoke creates some pretty amazing patterns that make for pretty impressive images.
Sometimes you’ll also be lucky enough to capture shapes that are almost recognisable. Can you the face in this cloud of smoke?
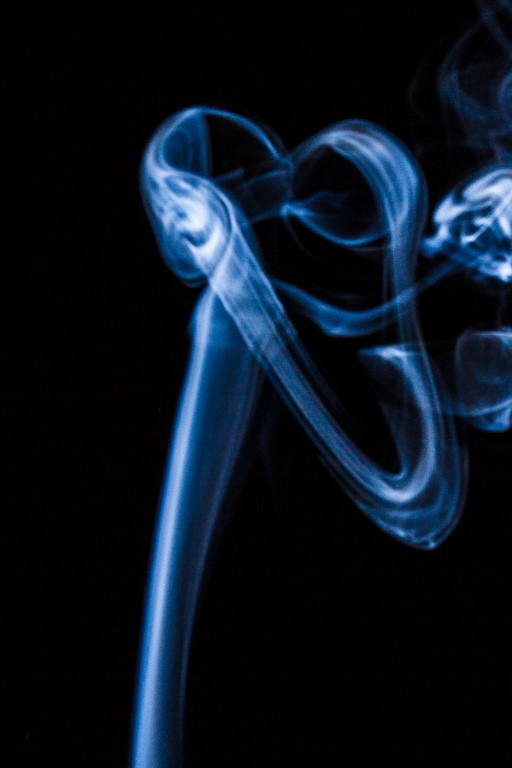
How about trying something different?
The joy of digital photography is that sometimes the image we shoot is only the beginning of a much grander creative process.
The addition of smoke to an image can be a powerful tool to create an image with bucketloads of mood.
The process for creating the above composite is a fairly straight-forward one.
To help you on your way I’ve created a photoshop tutorial on the process, feel free to take a look.
You’re welcome to download the start images and try the process for yourself.
– Hover over the large image thumbnail and choose “Save Photo” from the flyout menu.
Who knows, it might even inspire you to create your next photographic masterpiece.


