Let me begin by saying that I’m not a big Gearhead – I’m not someone to run out and buy whatever gear is currently being raved about. That said, I’ve recently purchased a piece of equipment that I cannot help but be amazingly in awe of.
What is this product? The CamRanger (Check the link for a video review.)
Essentially, it plugs into my camera and creates a wireless connection with my ipad, allowing me to control my camera settings and focus through the ipad. It allows me to see exactly how the image will be exposed before I press the shutter. The images taken are then viewable on the ipad – which has made a big difference to product work where the client is present at the shoot. They get to see what’s been taken and instantly give feedback or delete images that don’t meet the brief.
This little gadget has dramatically altered how I shoot product, and I’m finding better and more intelligent ways of combining it with my workflow each week.
Today I want to demonstrate another use I have for it – an advanced technique called focus-stacking.
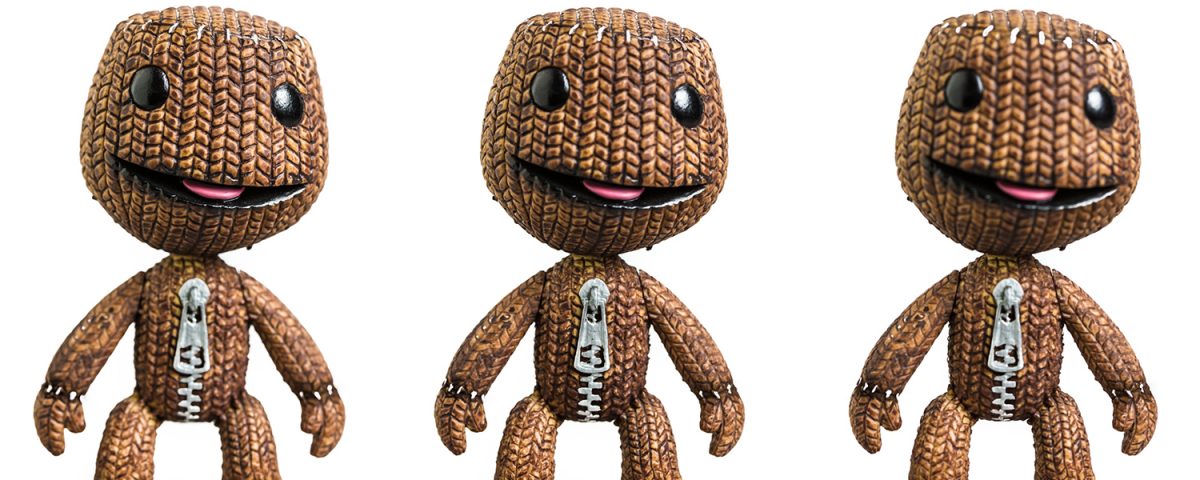
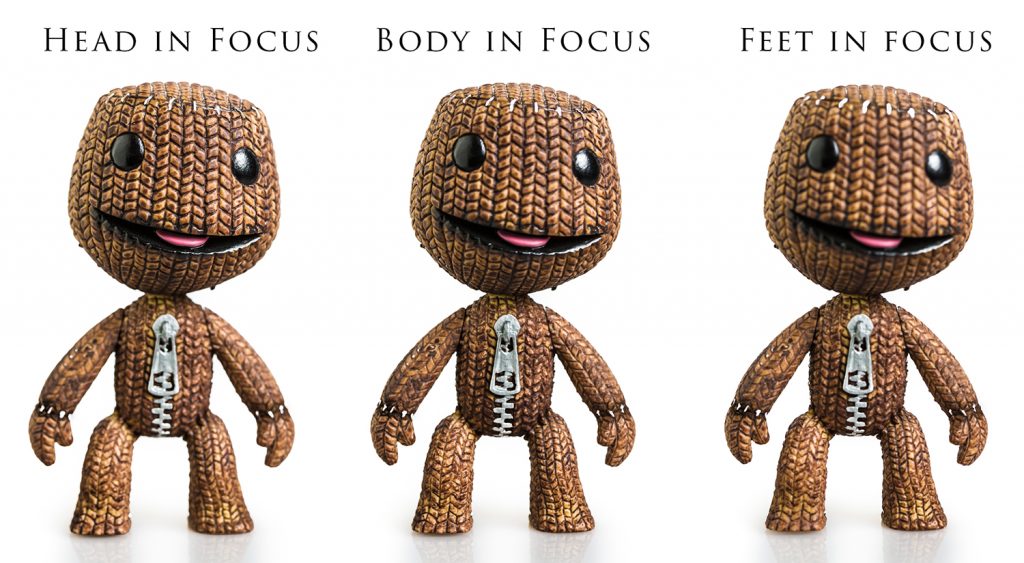
Normally when taking an image, a part of it will be in focus, and a part will be out focus.
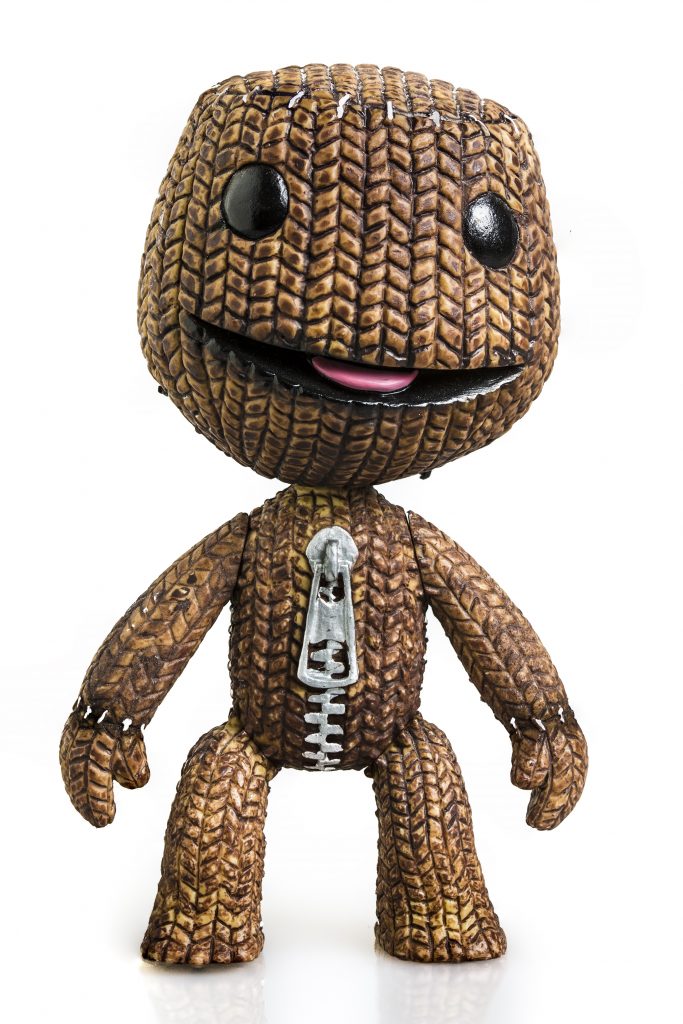
With focus stacking you take a number of images, each with a different part of your subject in focus. These images are then combined in photoshop to create 1 image which is critically sharp from fron to back. You can appreciate how useful this is for product photography.
Today’s subject was one of my desktop mascots – Sackboy from Little Big Planet. (A really innocent and creative Playstation game that I fell in love with when I first played it.)
For this image, I took a total of 8 images using the CamRanger. The fist image was focused on the head of the doll, and each subsequent image shifted the focus further into the frame until I had a set of images where every single part of Sackboy was in focus.
Below is a comparison of 3 of the 8 images I took.

